How to Make DIY Washi Tape Using Old Book Pages (No Special Tools Needed)
- Jane Chipp

- Aug 1, 2025
- 3 min read
Hello creative friend,
Last week, I shared a short reel on Instagram showing how I make my own version of washi tape using old book pages, and it took off! At the time I’m writing this, it’s been viewed over half a million times, with lots of lovely comments and a few questions.
So, here’s a simple step-by-step for you to try the technique so you can "DIY washi tape".
Firstly, a question that a few people felt very strongly about was, is it ok to use old books as an art supply?

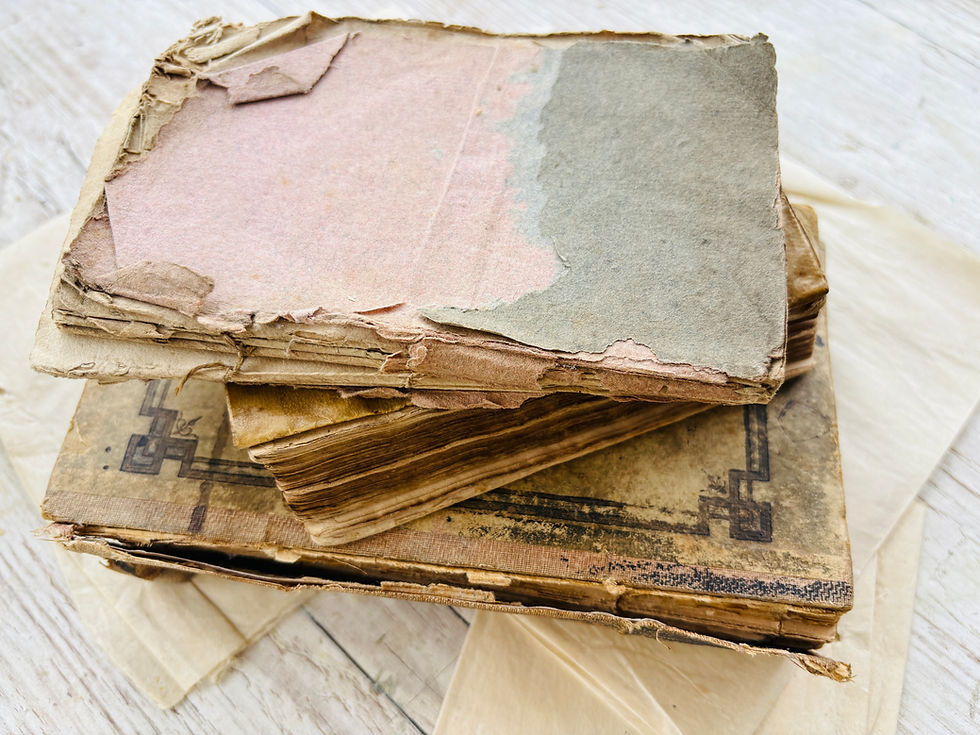
Absolutely, yes, in my opinion! The books I use are not rare or valuable; they’re often damaged, outdated, or otherwise no longer useful. If I didn’t give them a second life through art, they’d likely end up in landfill. I see art as a way of honouring what might otherwise be discarded.
That said, if you feel differently, that’s completely OK. We all have our own relationships with books, and there’s no one right way to approach art-making.
What you'll need for your DIY Washi Tape
*(Please note that these are affiliate links: if you decide to buy something through one of them, I may receive a small commission at no extra cost to you.)
5 Steps to Make Your Own Washi Tape
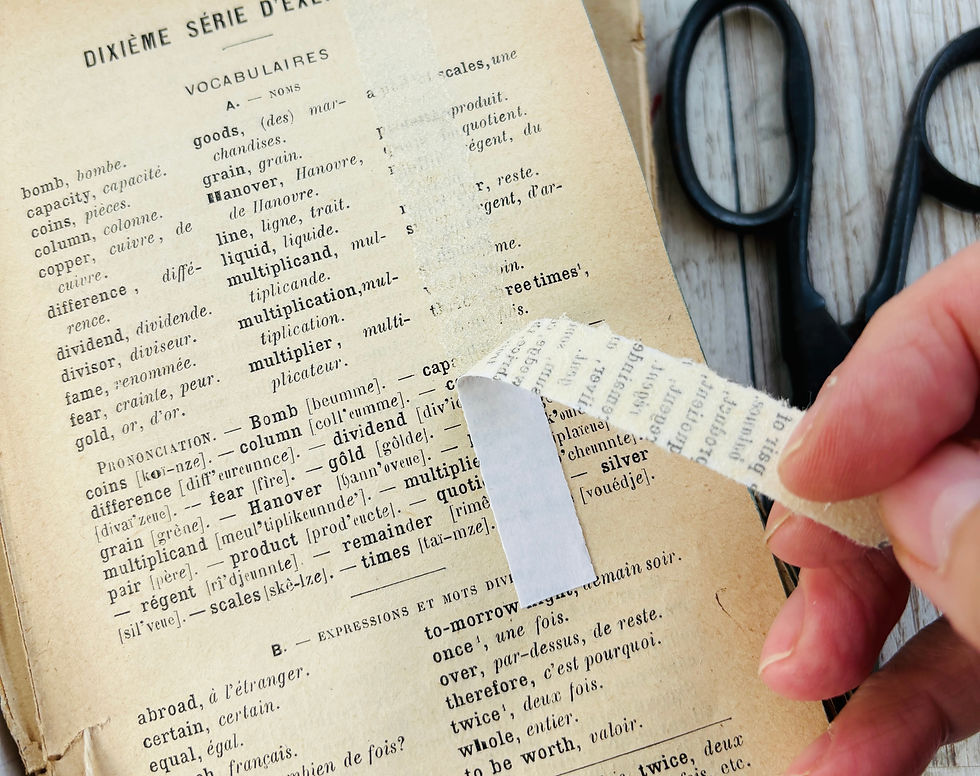
1. Choose your page. Look for interesting text, numbers, symbols, or fonts, even better if it’s in a different language. Don’t worry that the print reads backwards after transfer, that’s part of the charm. The type of paper will effect how easy it is to get this technique to work; use woody feeling, fibrous paper, not glossy or shiny.

2. Press on the tape. Cut a length of double-sided tape and press it firmly onto your chosen part of the book page. Keep one end loose from the page so you can use it to lift the strip off the page. You don't need to leave it stuck to the page for a long time, just so long as you've pressed it firmly in place.
3. Gently peel. Hold one end and peel back the tape. You’ll lift some of the paper fibres and ink with it.

4. Add Vaseline. Rub a tiny bit of Vaseline onto the tape. This makes the fibres more transparent, giving a softer look. Wipe off any excess. In the photo below, I added vaseline just to the top half of the tape; you can see it is slightly more transparent.

5. Use your tape! Peel off the backing strip and add your handmade tape to journals, cards, or collage projects.
Tip: I like to make several strips at once and store them with the backing paper on, ready for future use.
Trouble shooting: if you're having trouble getting this to work, it's almost certainly due to the paper. I've tried various brands of tape and all have worked. It's vital that the paper is fibrous rather than glossy because you need the tape to be able to pull off some of the fibres.
Watch the DIY Washi Tape Video
Want to see it in action? You can watch the original reel and more tutorials over on my YouTube Channel
Learn more with me
If you enjoy learning techniques like this, you might love my online classes. I teach a variety of mixed media skills designed especially for gentle, creative exploration.
I hope you have fun making your own tape! And if you give it a try, I’d love to see; feel free to tag me on Instagram or Facebook and tell me how it went.
Warmly,
Jane

Thank you so much for this information. I will be trying this also. I am a happy participant in two of your online classes. <3
Hi Jan,
I can’t wait to try this Washi tape technique. I volunteer at a Friends of the Library bookstore here in the U.S. and I think this is a great way to use very aged and tattered books. So many books are wasted by being thrown away. I really like how you teach to repurpose in your work.
Cheryl